
Xebionis's post
1 / 10
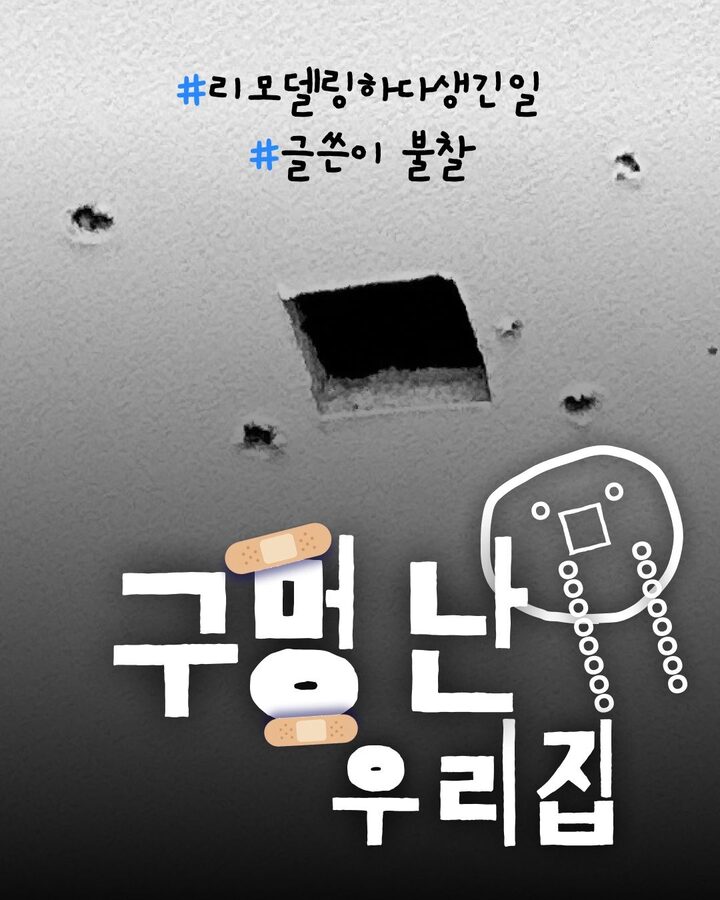
#리모델링하다생긴일 <Summary of Lessons Learned from the First Pendant Light Installation> 📍 Determine the dining table location first 📍 Check the clearance behind the chairs 📍 Mark the center point before moving the table 📍 Do not drill by eye 🦺 Turn off the power before electrical work For the dining light location, the dining table comes before the light! -🤦♂️ STORY of Filling the Ceiling Hole - A hole appeared in the ceiling above my dining table... 🥲 The culprit was a failure in selecting the dining light location! The original plan was very simple. “Let’s hang a pendant light right in the center of the dining table!” However, on the day of the light installation, problems began when we temporarily moved the dining table to another location for drilling. In our house, we use the dining table attached to the kitchen island, and since there is a tall cabinet behind the chairs, we needed at least 800mm of clearance between the table and the wall to pull the chairs out comfortably. However, once we removed the dining table that had served as our reference point, “Exactly where was the table?” “How far was it from the wall?” All our reference points suddenly vanished… ^^ In the end, we installed the dining table light by eye, estimating the position on-site, and it didn't look too strange at the time. But when we put the table back and started living there, the space between the chair and the wall was too narrow and uncomfortable. When we moved the table to a more comfortable position, the centering of the light went completely off this time. At first, I tried to look a bit blurry, but… Absolutely x9999 Blurrying is impossible… 🙂↔️ (shaking head) Eventually, I made a decision. “Instead of aligning the table with the light, let's align the light with the table…” This time, we placed the table exactly where we would use it, checked the space for pulling out the chairs, and then determined the new drilling location based on the exact center of the table. To bring the wire from the existing hole to the new location, my husband straightened out a coat hanger and started tucking it into the ceiling… So-called "ceiling wire fishing" 🎣 I inserted a coat hanger through one hole, found the wire on the other, and pulled it out—and finally, fishing success! The light is now perfectly positioned right in the center of the dining table. And naturally, where the light used to be... A hole remains. 🥲 I considered filling it in myself, but I felt that if I touched the ceiling wallpaper, I would make the job worse, so I eventually entrusted the repair to a professional. Immediately after the repair, the wallpaper hadn't fully dried yet, so the imperfection was quite noticeable. However, after a few weeks, once it dried completely, it became barely visible unless you look closely. (This is... okay..^^) Especially when I turn on the dining table light alone in the evening, the darkness subtly hides the small imperfection left on the ceiling! (Thank goodness) And best of all, the dining table is now in a convenient location for daily living, and the light occupies the exact center of the table. One thing I learned properly from this experience: What needs to be decided before the position of the light is the final location of the furniture that will be placed under the light. If you are installing a dining table light, I recommend determining the center point first by not only positioning the dining table but also the space needed to move the chairs back, as well as the distance from the wall and cabinets. Especially if you need to temporarily move the dining table out for the installation, mark the center point of the table on the floor or ceiling before moving it! That way, you won't end up like in my house... You won't have to put a bandage on the ceiling of your newlywed home 🩹 ※ Always turn off the power before any electrical work, and if you are unfamiliar with the task, it is recommended to leave it to a professional. #ThingsHappenedDuringRemodeling #신혼집인테리어 #식탁등 #펜던트조명 #조명인테리어 #인테리어실수 #천장보수 #일광전구 #천장구멍 #천장구멍메꾸기 #구멍메꾸기
- 08.15
- Likes
- 31
- Saved
- 18
- Views
- 124
Comments0
