
hwany_home's post
1 / 6
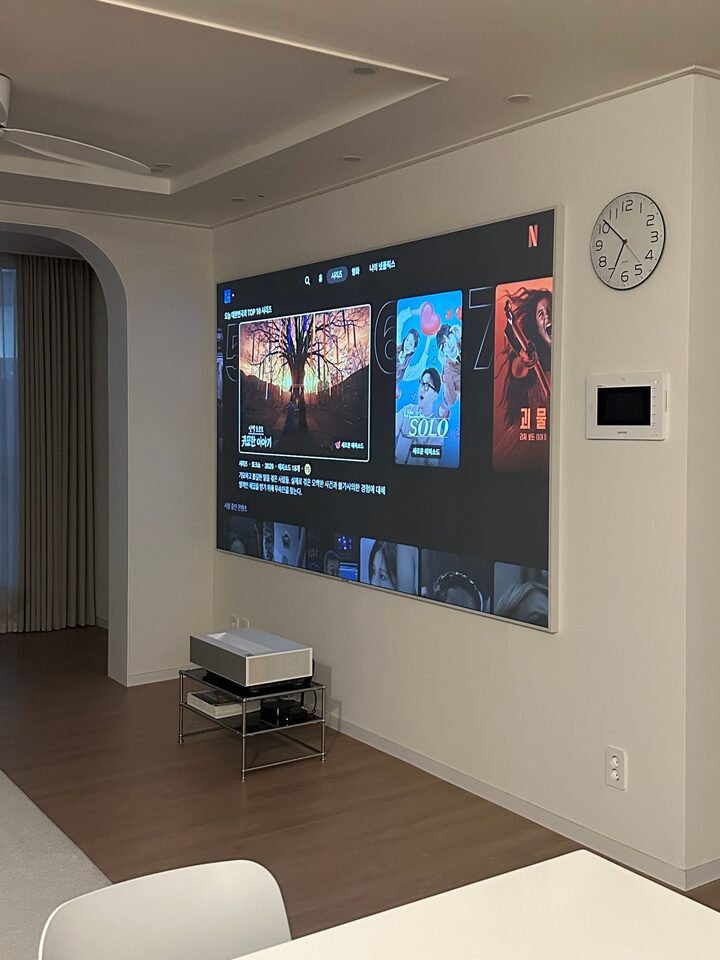
Hwani Home Projector Installation Part 1 The reason I suddenly decided to install a projector is that my TV was getting old, and several blemishes and stains were starting to appear on the screen, so I was planning to replace it. However, my husband said it was his dream and that he wanted to install a projector. Since my husband leaves at 7 am and comes home around 9 or 10 pm, I thought it would be nice for him to have a little joy, even if just during his weekend rest, so I decided to grant his wish this time :) ① Projector Shelf After purchasing the projector, I tried adjusting the height using items I already had at home, and found that about 30cm looked good when I leaned slightly against the sofa to watch. However, most projector shelves are around 20cm, so finding a 30cm height wasn't easy, so I ended up making it myself. I bought the modular shelf parts for just over 100,000 won, and since I couldn't do the hammering at home, I headed to a quiet park 😂 At first, I tried using a urethane rubber mallet, but eventually I even brought a sledgehammer and hammered away at it haha ② Relocating the LAN Outlet Since the internet cable would inevitably have to hang down once the screen is installed, my husband said the cable might be a nuisance. So, we extended the LAN cable and moved the LAN outlet. My husband and I did the work ourselves, but I'll skip the detailed process :) I'll continue with the screen installation process in the next post. For reference, the screen installation was handled by a professional company! #ConsoupRecords #인테리어노하우 #빔프로젝터 #빔프로젝터설치 #빔프로젝터인테리어 #거실인테리어 #모듈선반 #모듈가구 #빔프로젝터거치대 #거실 #거실꾸미기 #맞팔
- 09.23
- Likes
- 31
- Saved
- 12
- Views
- 83
Comments0
